Not going to lie, we were mighty pleased that the tile chipping was over. However, our troubles were far from behind us, as this time the new shower tray & trap was giving us issues as we just couldn’t stop the pipes leaking – We were trying to “make do” with a reducer fitting that wasn’t quite right.
Lesson Learned – The hard way!
Once we’d extracted the old shower tray from its bed of silicone, we huffed and puffed bringing the new one in, so careful not to chip or damage it. Marcus fitted the new Gulper pump to the wall and we installed the new trap and joined them together with the reducer fitting that we thought would be “OK”. Turns out it wasn’t and water always finds a way. We had such difficulty as each time we had to lift the shower tray in & out and extract/feed the pipes through an oval hole in the floor and each time the pipes knocked the trap or the trap knocked the pipes.
We’re not plumbers, so we were making this up as we went along – Really the only thing for it was to buy correct fitting, but the weekend/Bank Holiday was restricting us slightly, so we did the next best thing which was to leave the shower tray where it was whilst we worked on a trap/pipe solution and start another job – Tiling.
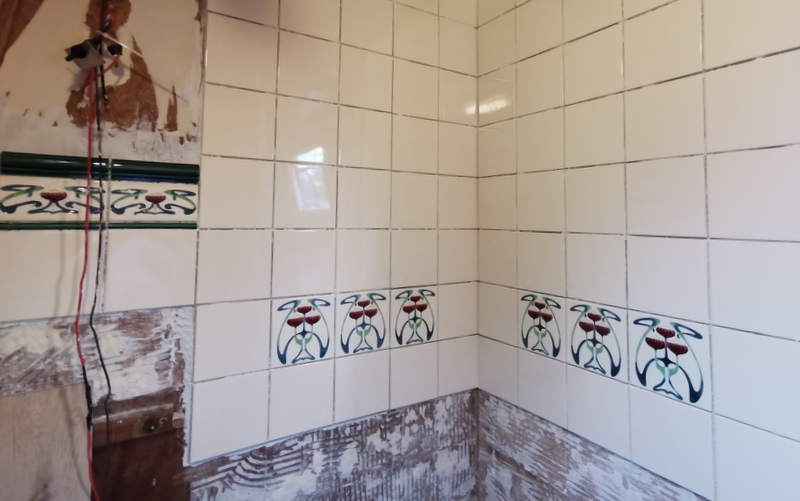
Again, we’re not professionals, but I do know that it’s best to start at the bottom with tiling & work upwards. We couldn’t, as we still needed to lift the shower tray in and out, plus, the tiles above the vanity unit needed to be exactly in the right place, so we started in the middle. We were very nervous, as we’d paid a lot for the tiles during lockdown and we’d only been able to afford 6 of the feature tiles, so we had no room for error. After a slightly nervy start and lots of mess, we’d done a fairly decent job on the 2 shower walls and the vanity section.
The next day, Marcus headed off to spend the grand total of £6.35 on the correct pipe fitting and we started the shower tray job again with the right parts and a lot of knowledge. We fitted the trap and applied silicone to all the joints and placed the shower tray back down for what we hoped would be the last time. Waiting for silicone to dry is a long task, so we decided to paint the walls and ceiling. We’d got the Zinsser, which was a brilliant undercoat for varnished wood and spent the afternoon, paintbrush in hand, carrying out what was the most dramatic transformation of the project so far.
As for the shower trap, well, we’d just have to wait until the next day – patience, Grasshopper.


